Quality 101
How to Launch a Digital Twin Strategy for Quality Control
Producing a digital twin that opens opportunities for quality control improvements requires accurate, high-resolution data.

All Images Source: CAPTURE 3D
Digital twin solutions are emerging throughout smart factories everywhere. Primarily involving sensor-enabled Industrial Internet of Things (IIoT) systems that facilitate real-time data acquisition, these virtual replicas of factory floors provide real-time information about processes, system health, performance and more. The resulting data and analytics provide actionable insights that help businesses make reliable predictions, optimize processes, and make informed decisions. But why not apply digital twin methodology in other manufacturing stages, such as quality control?
What Is A Digital Twin And How Does It Improve Quality?
A digital twin is a digital replica of a physical asset, system, process or place that enables its remote monitoring and analysis throughout its lifecycle. In metrology, a digital twin is a geometric digital model of a physical part, tooling, or assembly derived from 3D scan data. When created using an accurate, high-resolution 3D scanner, digital twins enable the ability to make reliable decisions based on insightful data and perform comprehensive analysis to improve quality control, geometric dimensioning, planning efficiency and processes through simulation. In addition, the as-built digital twin provides statistical process control (SPC) analysis and trend insight to predict potentially problematic areas before they occur.
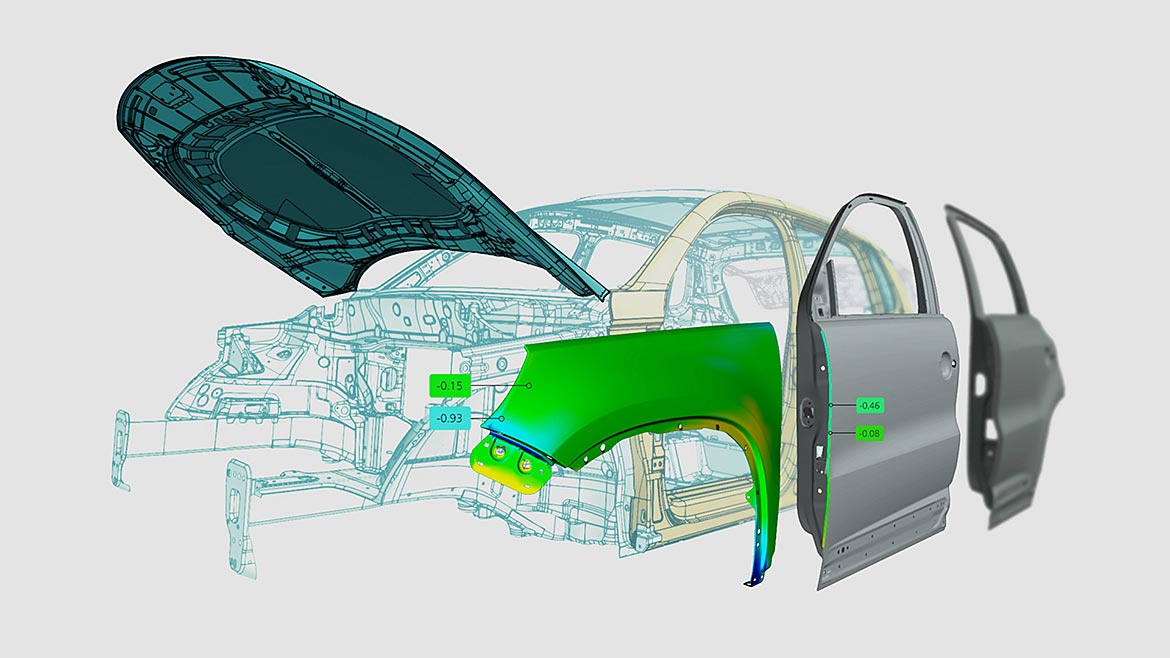
Digital assembly is a digital twin application allowing manufacturers in remote locations to share 3D scan data to digitally assemble parts and simulate the finished product before incurring costs.
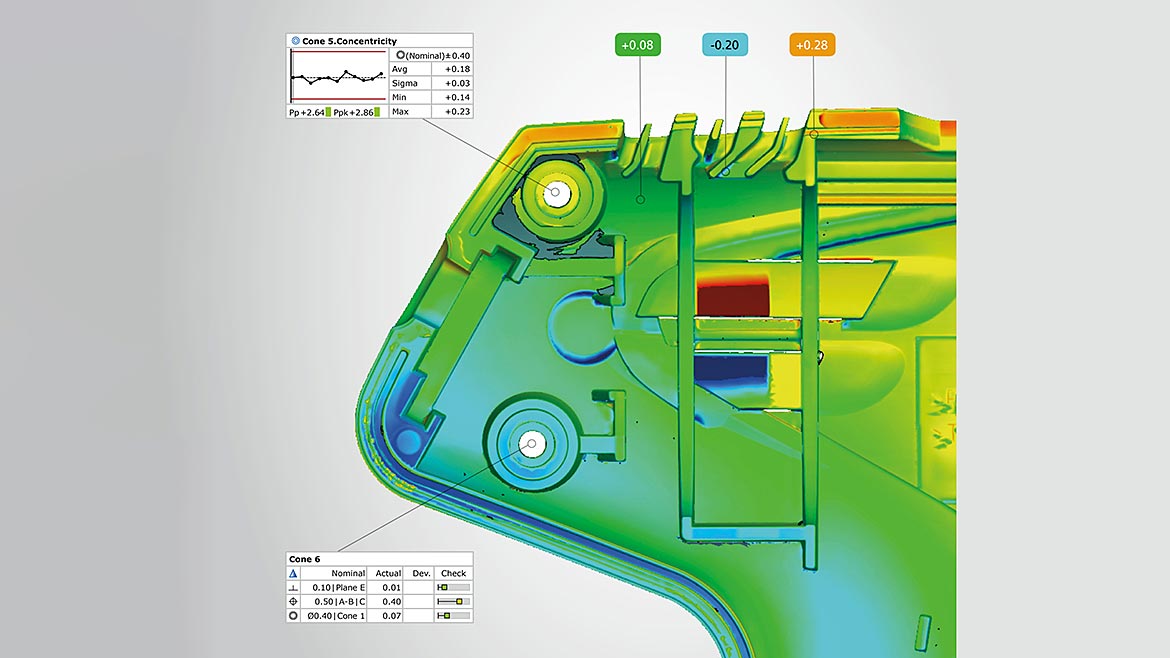
When created using an accurate ATOS 3D scanner, digital twins enable the ability to make reliable decisions based on insightful data and perform comprehensive analysis to improve quality control, geometric dimensioning, planning efficiency and processes through simulation.
How To Begin Using Digital Twin Technology For Quality Control
Since data creates digital twins, the first step in launching a successful digital twin strategy is securing a fast, accurate, and reliable method of collecting that data. Non-contact 3D scanners capture complete data, known as full-field data, from an object’s surface within the sensor’s line of sight, resulting in the digitized geometric 3D blueprint of a physical part or object. While every 3D scanner produces a mesh, or STL file, not every 3D scanner is suitable for digital twin creation.
Producing a digital twin that opens opportunities for quality control improvements requires accurate, high-resolution data. Choosing the right 3D scanner for the application’s needs is imperative to successful data acquisition. Consider factors like part finish, size and tolerance requirements — the tighter the tolerance, the higher the need for resolution. Data density is another consideration, especially for small or intricate parts. Ensure that the scanner has a high measuring volume to collect enough data points on a part’s smallest feature to fully and accurately understand its form. Structured blue light 3D scanners are often preferred for these high-resolution digital twin applications due to the technology’s accuracy and speed.
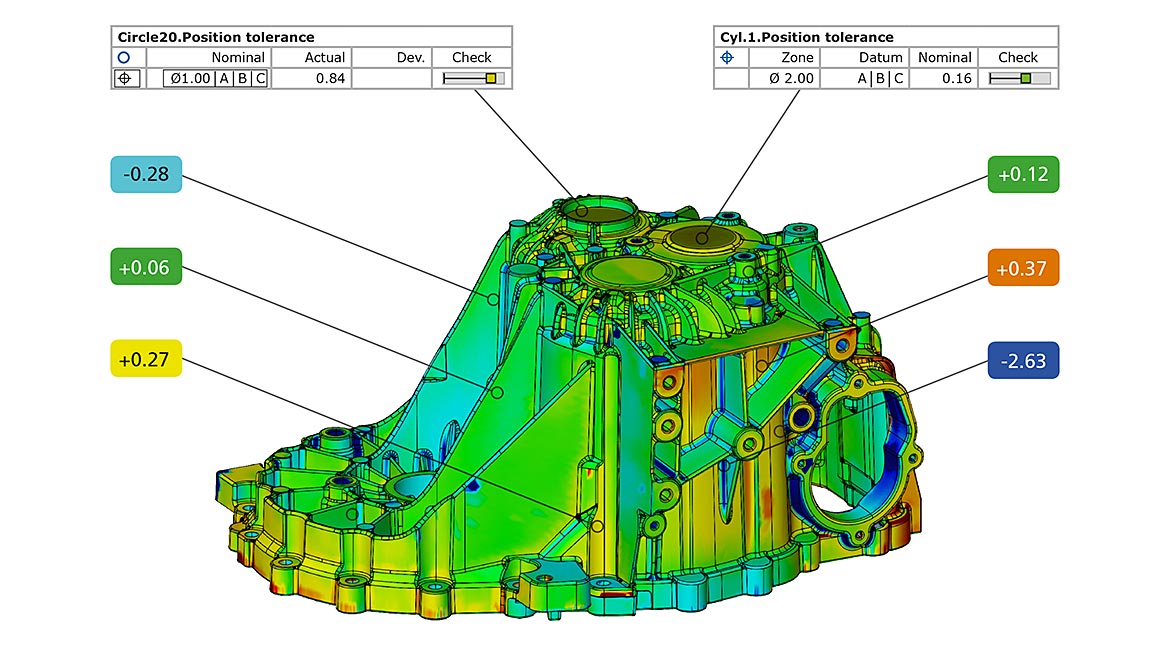
In metrology, a digital twin is a geometric digital model of a physical part, tooling, or assembly derived from 3D scan data.
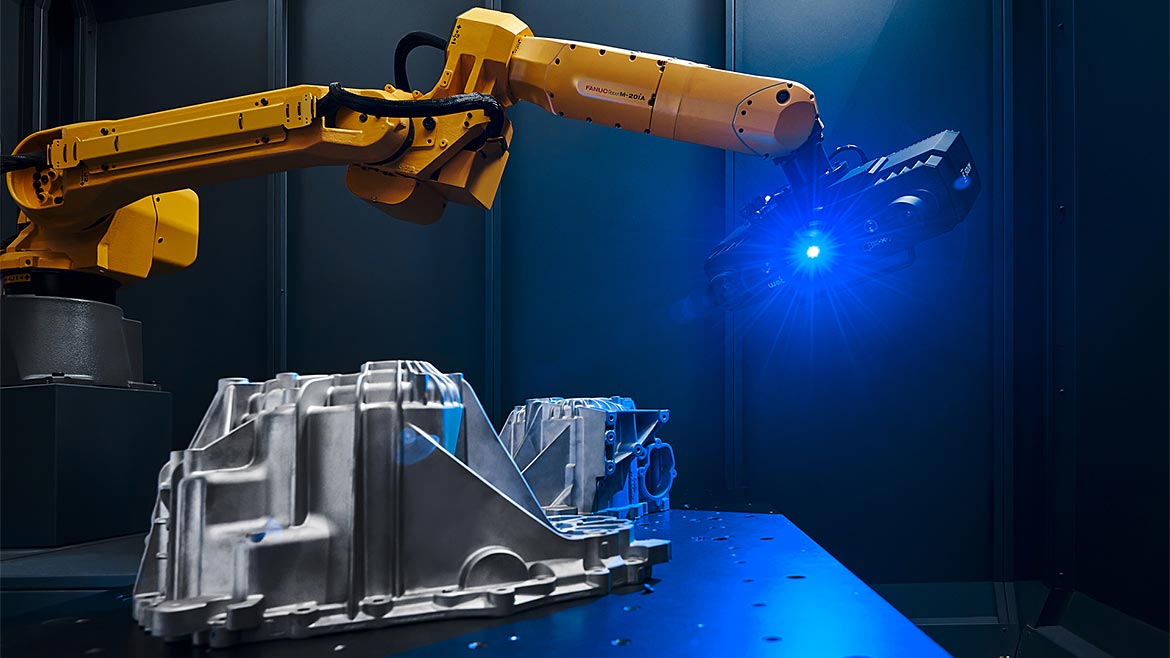
Structured blue light 3D scanners are the preferred method of creating high-resolution digital twins for quality control due to the technology’s accuracy and speed.
Digital Twin Applications To Enhance Quality Control
The next step in implementing a digital twin strategy is applying the data in a 3D workspace. When brought into intelligent 3D metrology software, digital twin data can be used in various simulations to improve quality control processes. For example, virtual assembly is a digital twin application that uses 3D scan data to evaluate how parts fit together. Data from two or more parts, such as two sides of a mold, are brought together to virtually verify how they would fit together in the real world. Manufacturers save time and money by virtually verifying the dimensions and accurate mating of components using actual data from a blue light 3D scanner rather than nominal data in the CAD space before investing in the production and distribution of physical components.
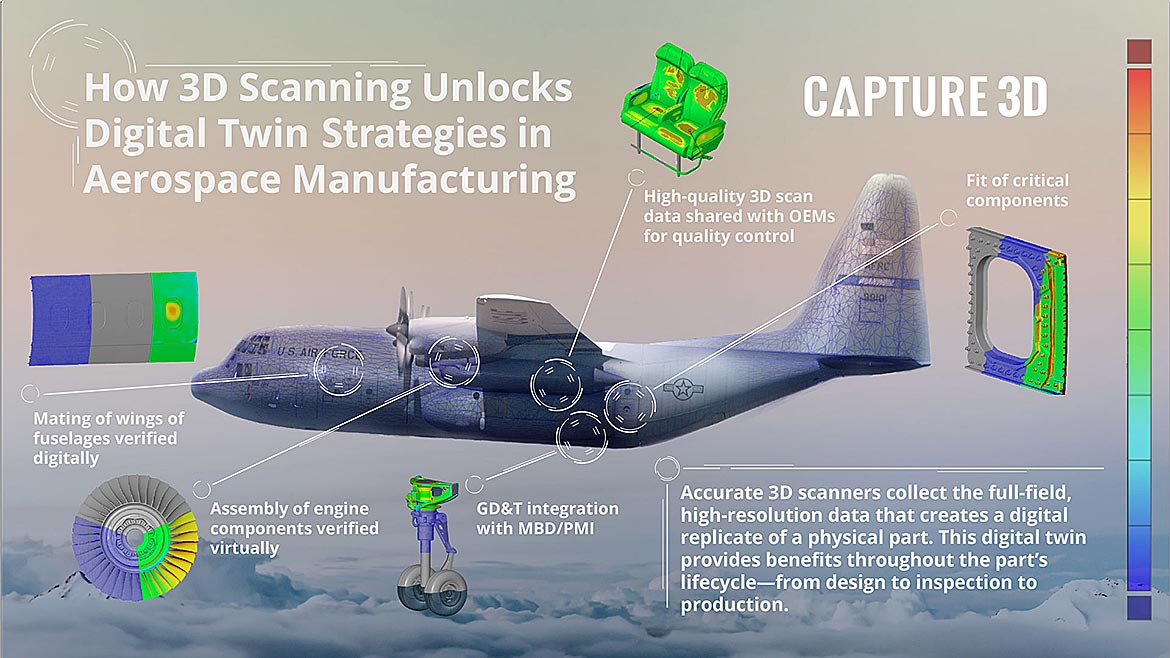
Digital assembly is a similar digital twin application that supports collaborative quality control. With this strategy, manufacturers in remote locations can share digital twin data from an accurate 3D scanner to digitally assemble the parts and verify their form, fit and function before ever shipping them for actual assembly. By verifying the accurate assembly of parts and components, manufacturers can validate the design and simulate the finished product before incurring costs. For example, data from an aerospace wing and a mating surface structural, or an automotive car body and hang-on components, are brought together to digitally verify how they would fit together in the real world. For companies with plants across the country, such as aerospace and automotive manufacturers, this development helps to avoid rework, delays and wasted production time by allowing manufacturers to ensure the components will fit upon physical assembly.
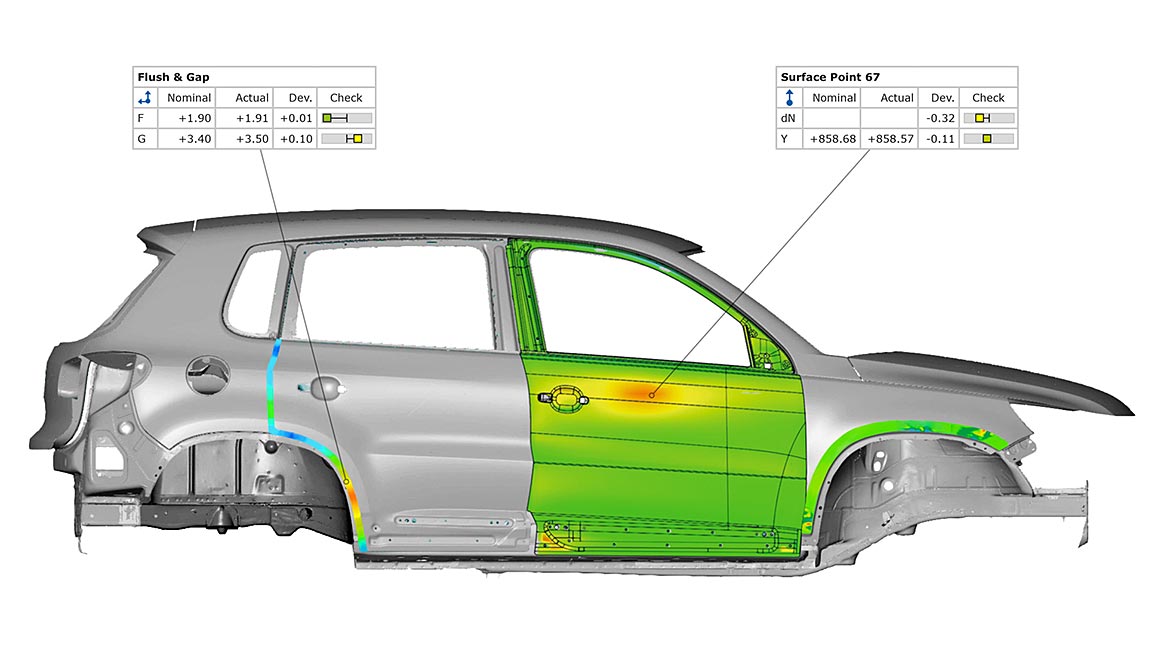
Digital twin data helps automotive manufacturers avoid rework, delays and wasted production time by digitally assembling components to ensure they will fit upon physical assembly.
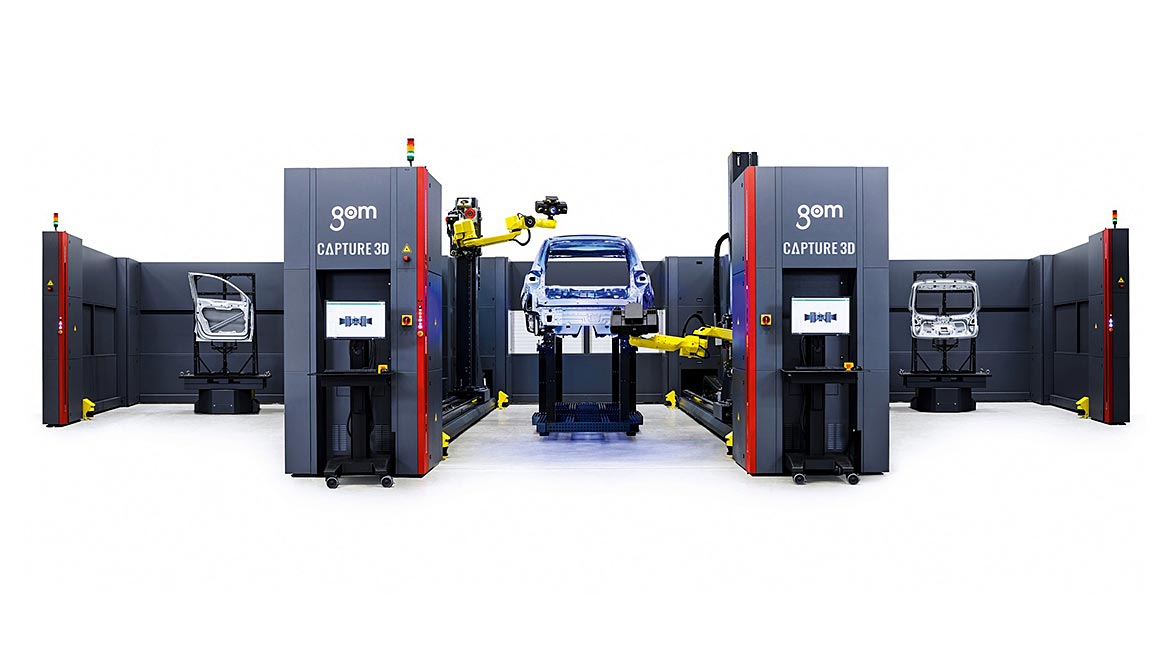
With digital twin data from a blue light 3D scanner, automotive car bodies and hang-on components can be brought together to digitally verify how they would fit together in the real world.
Overcoming Quality Control Challenges With Digital Twin Data
Simulation using an accurate digital twin can also help overcome challenges common for specific quality control applications to manufacture components as intended. Unwanted deformation, known as warpage, is a common problem for the quality control of injection molded parts or manufacturers working with malleable materials, such as plastics processors or additive manufacturers. Often caused by uneven shrinkage due to suboptimal material or process parameters, warpage in quality control is challenging to resolve.
In some instances, it’s helpful to identify and quantify the overall warpage that occurs in a tension-free state for process insight for the toolmaker. However, global warpage is typically not a functional problem and sometimes disappears with assembly. Inspection is usually related to the mounted or assembled state; therefore, global warpage existing in a single part would overlay and falsify measurement results. As a result, warpage is traditionally compensated by measuring the part in an assembled or clamped state. In the physical world, fixtures force the part into an over-constrained state to simulate the assembled situation necessary to compensate for warpage. However, this is not a viable solution in early production stages when fixtures may not be available. In some instances, the budget may not allow investment in constructing, producing and calibrating a measurement fixture.
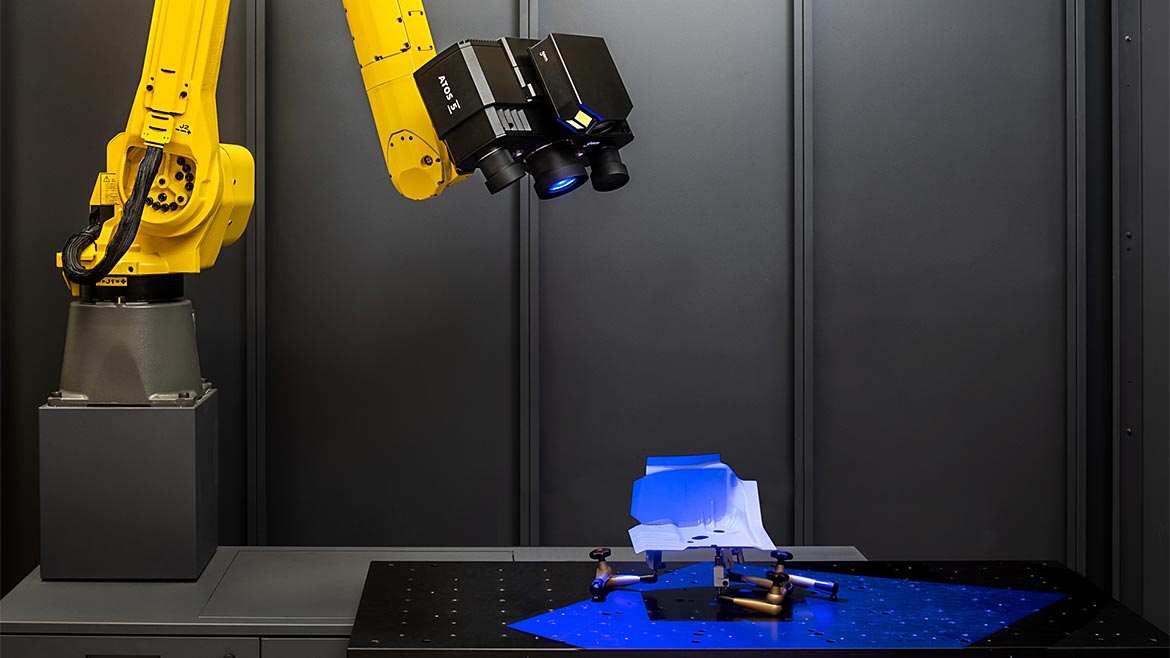
With intelligent 3D metrology software and high-resolution data collected by a blue light 3D scanner, manufacturers can use simulation to overcome quality control challenges.
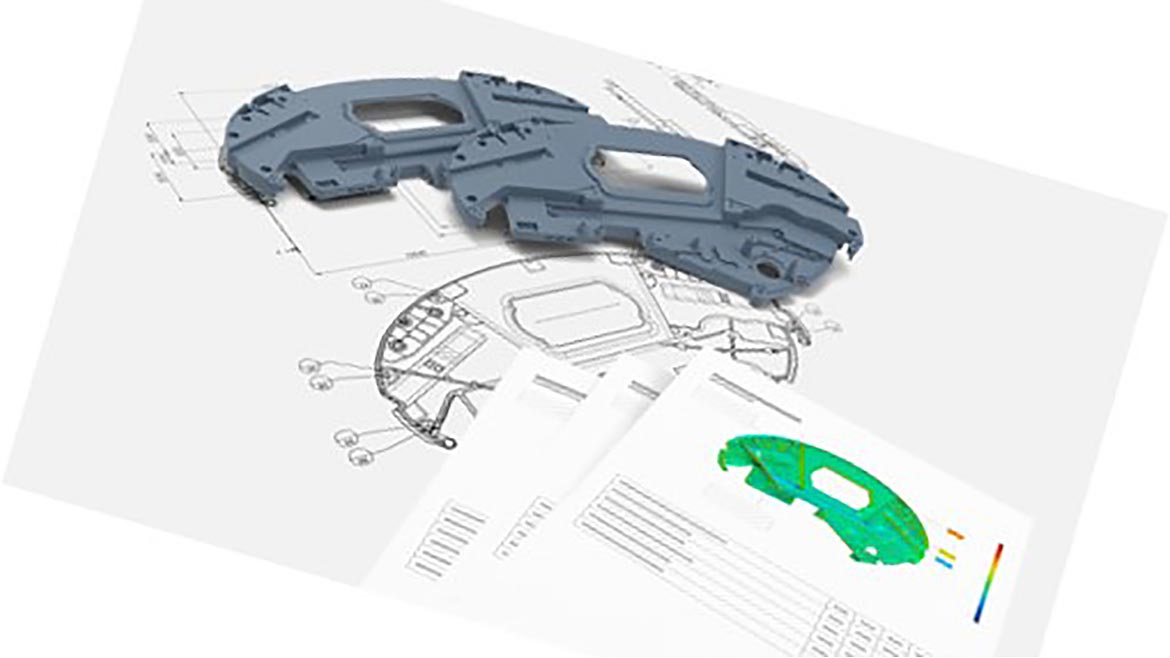
Digital twins for metrology provide fast and accurate information about the physical component’s health, trends, and dimensions for deeper and more valuable insights.
Using intelligent 3D metrology software and high-resolution data collected by an accurate blue light 3D scanner, manufacturers can simulate this process by putting a digital twin of a physical part into a virtually clamped state, allowing for the dimensions to be checked as if the part was already in the final assembly state. Algorithms for the virtual compensation of warpage detect over-constrained datum conditions without mechanical fixtures. The digital twin is then adapted, and inspection results are recalculated automatically. Manufacturers can quickly switch between the clamped and unclamped state to retrieve the required information from the evaluation. This modernized method of removing warpage replaces physical fixtures with digital twin data and reliable calculations driven by algorithms to reduce complexity, costs and typical time spent executing the process in the physical world. Data from an accurate 3D scanner also enables reliable moldflow simulation to calculate how the material properties will form into shape. Simulation with digital twin data predicts and prevents quality control problems to produce better parts faster.
Archiving Digital Twin Data To Live Beyond Its Lifecycle
Archiving digital twin data gives manufacturers traceability that helps eliminate repetition and optimizes quality control by enabling quick comparisons of the part’s condition throughout its lifecycle. Cataloging digital twin data to the serial number of each component produced makes it easy to retrieve for comparison or reproduction in the future. In addition to digitizing parts and assemblies, companies are scanning their final tooling to plan for tool-wear and other unforeseen issues that could arise in production. Manufacturers can easily share digital twin data, creating a connected virtual ecosystem for interoperability, increased reliability, enhanced performance, and agility within the organization. With immediate access to accurate digital twin data, teams, suppliers, and customers can communicate problems and derive solutions quickly and clearly.
Accurate blue light 3D scanners provide a gateway into digital twin strategies. The millions of data points they collect in each scan generate the digitized geometric identity of a physical part, assembly or tooling in a method more efficient than manually interacting with physical systems. Digital twins for metrology improve quality control and processes through simulation. With fast and accurate information about the physical component’s health, trends, and dimensions, manufacturers ultimately gain deeper and more valuable insights. These insights empower manufacturers to make more reliable decisions based on accurate data now and in the future.
Looking for a reprint of this article?
From high-res PDFs to custom plaques, order your copy today!


